Manufacture of a light table

Table lumineuse 01 EN
In 2019, I started making a homemade light table.
 

A professional light table is indeed quite expensive, and I wanted to be able to have a fairly large working surface while having the possibility to vary the tilt of the table: I wanted to be able to draw on it at a certain angle, and to have the possibility to lay it flat it to work with the paint or watercolour without drips.

I took pictures at every stage of the manufacturing process, which allowed me to post the manufacturing steps on Facebook and Instagram. I had a lot of fun doing this project, and I thought it would be nice to make a blog post out of it, a bit like a DIY tutorial, in a way.

I already had a big black board that I used as my desk. I cut it in half, one part for my desk and the other part for the light table.
I bought a large plexiglass (50 x 50 cm) and two clip-on desk lamps. I found two second-hand architect’s trestles (reclining trestles). Here I am ready to start the first step: create the plexiglass slot. I cut out the inner square with the jigsaw and removed a bit of the thickness of the board, following the outer square with the electric router. My plexiglass square fits neatly into its space!

I then make a wooden box that will become my lightbox. After having decided on its proportions, depending on the size of the plexiglass and the length of the LED neon lights, I trace them on a plywood board.
Finally, I glue sheets of aluminum foil all over the inside of the box to maximize the reflection of the light that the LED neon lights will produce once installed.

I screw the fastenings of the LED neon lights on the inside sides of the box and fix the lights, for a first try. I realize the wire connections are a little too long. I shorten them with dominos and electrician tape, then I test: everything works! I’ve got a good feeling about this!

I add a switch to the power cable. Then I make a notch in the frame to allow the cable to pass. That’s it, I can fix the box under the table!
I turn the table over and position it, before fixing it with small brackets.

Now that the box is fixed under the table, I connect an electric cable to the switch. I protect the cable with a PVC pipe and secure it under the table. That way, I’ll have access to the switch by running my hand down to the bottom right of the table, and the power wire will come out at the top right to go to a power strip.

I turn the light table to connect the electrical outlet to the cable and thus finish the power circuit.

I put the light table back in the right direction and plug in the socket. I put down the plexiglass to test the whole thing.

I made a small notch in the upper left corner so I can easily lift the glass without damage.
Everything’s working fine!

I then thought that I should opacify the plexiglass later in order not to be dazzled by the direct light when I’ll trace.

Now, I’ll deal with the two desk lamps. I want to be able to turn them on by putting my hand on the top of the light table. The current switches are located too low on the wire of each lamp. I install new switches and then attach them at the top of the light table. It works well and it’s very handy!

As I sit in front of the table, I realize it’s way too low.

First I consider extending the adjustable arms of the table, and finally I decide to lengthen the legs of the trestles. I test the right height with wooden chunks. I realize that my chair would no longer fit between the legs if I extend them, so I choose to make small tables to raise them.

I cut off the trestles’ legs the so that they’re flat. The length of the tables looks a bit short but as the weight rests on the crossbar of the trestles, everything is fine. Besides, I only wanted to make do with the scrap wood I already had.

I then attach the trestles to their support with small brackets.

I cut out squares of felt that I glue under the legs of small tables, so as not to damage the floor of my office.

I put the trestles back where they belong and I put the table back on the trestles.

I’m happy with the result so far. The chair goes well between the trestles and the table is at the right height, when I am sitting in front of it.
But it’s not quite over yet…

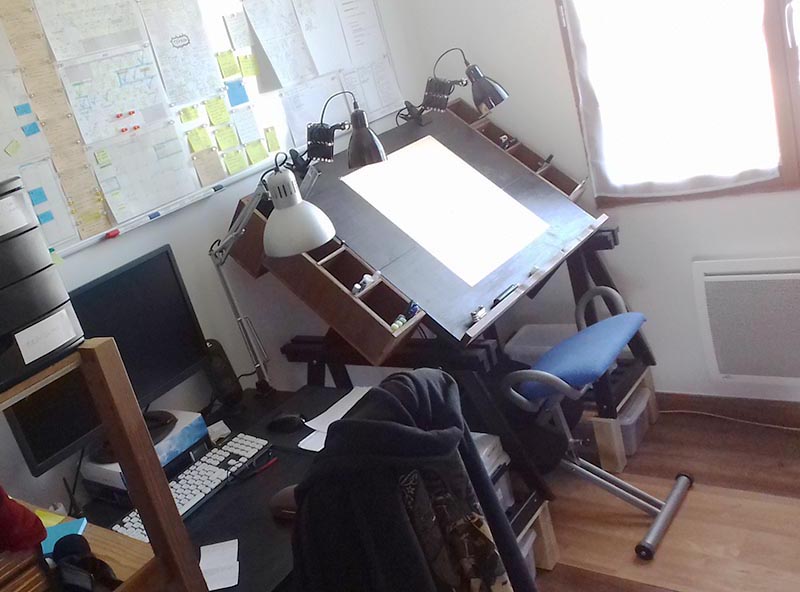
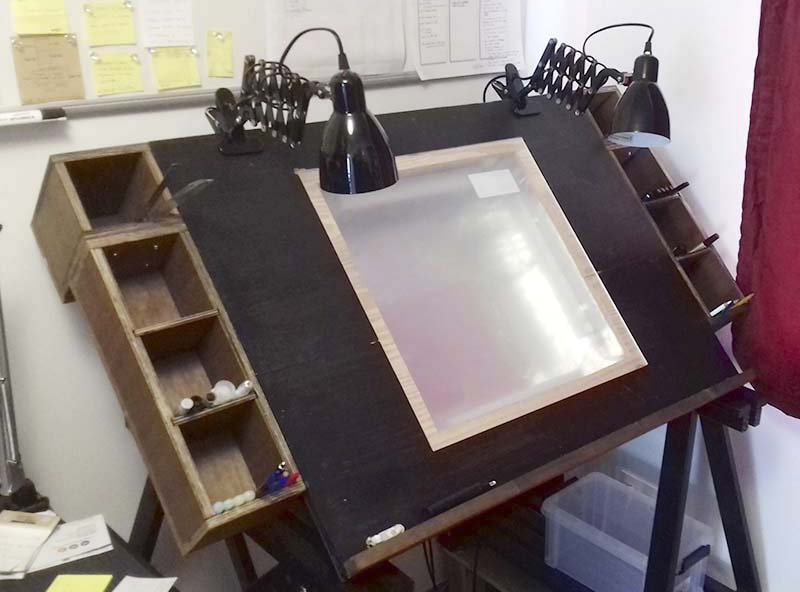
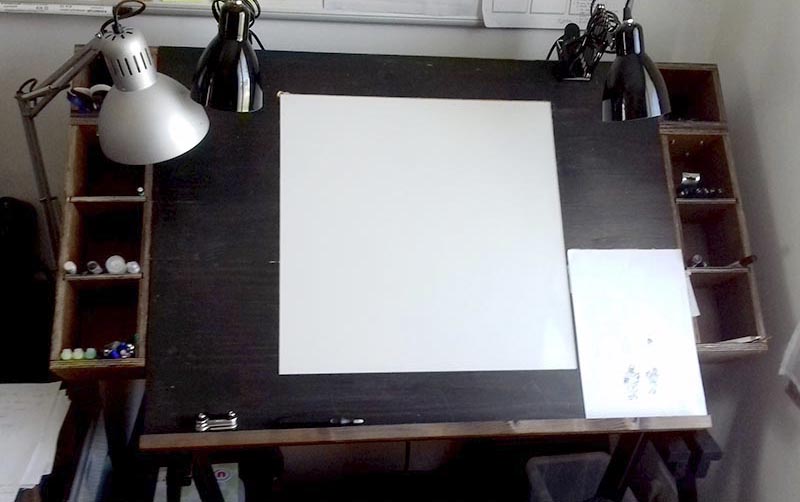
I want to have compartments on either side of the table to store my pencils, brushes, scissors, rulers, cutter, etc.

After having drawn up an assembly plan and the various dimensions, I pick among my scrap wood and find exactly what I need. In the meantime, I tell myself that it would be nice to have an edge at the bottom of my table, so I cut a piece of wooden batten while I cut the different pieces of wood.

Prior to assembling them, I dye the wood with walnut stain to make it a darker colour.

I assemble the different elements of the compartments, and attach them to the table using heavy duty angle brackets. I also screw the bar at the bottom of the light table and start to store my pencils. (Here, that’s not all of them, I still had a lot of boxes to empty, back then.)

It feels good! It’s almost over!

I’m really pleased with the result, one can see the first sheet through the second one, but I still have to opacify the plexiglass.
Here we go! A little white paint, and we’re done!

Once the paint dries, I put back the plexiglass, the painted side towards the inside of the box.

First test of the finished light table: everything works!

The light table is now finished and I am very happy with the result! I have all my tools within reach. Since then, the compartments are much more filled!

Feel free to ask me anything about this project! I’d be happy to answer!

See you soon!

Subscribe
Notify of
guest
0 Comments
Newest
Oldest Most Voted
Inline Feedbacks
View all comments